The Braking.
Most vehicles will have 2 types of braking systems.
The Hand brake.
This is sometimes known as the Parking Brake and is used to secure the vehicle when stationary. It does this by a mechanical system that locks the rear wheels. For this reason it should not be used when your vehicle is moving. Because by locking the rear wheels you would be causing a skid.
Its correct operation is when stationary grasp the handle and depress the button (to prevent racket ware). Pull up with the button depressed till it feels firm. Then release the button and handle.

The Foot Brake.
This is used to slow the vehicle when moving. On HGV and PSV vehicles it is known as the service brake. By removing your foot from the accelerator your vehicle will slow due to engine compression.
As you apply pressure on the footbrake the slowing effect is greater till you reach the point where the wheels lock up. The maximum braking effect is just before the wheels lock up and is called limit or threshold braking.
This is not a technique for the public road and would be very dangerous to attempt with other vehicles around.
The more the braking grips through the wheels, the less the grip that is available for steering.

There are a number of different braking techniques.
Progressive Braking.
Progressive braking is sometimes known as 3-phase or tapered braking. Using your right foot:
- Touch
- Squeeze
- Ease
The actual proportion of touch, squeeze, and ease technique will vary to your circumstances.
The first phase is to touch the brake pedal:
- By coming off the accelerator there is a small reduction in speed
- As you lightly touch the foot brake itself the brake lights come on warning the traffic behind of your intention
- This should be done in good time and shows good planning and awareness

The second phase is to squeeze the brake pedal:
- Gradually increasing the pressure on the brake till you have reached the required speed
- This is your main reduction in speed
- How hard to squeeze the brake is decided by what is happening around you

The third phase is ease off the brake pedal:
- This returns equilibrium to your vehicle as when you brake the front dips down as the back rises.
- This is the mark of a good driver because it shows the braking is planned.
- In emergency braking this phase of easing is omitted as the requirement is to stop

Cadence Braking.
In vehicles without ABS you will have to pump the brake. This technique is called cadence braking. It is also sometimes known as pulse, rhythm or stutter braking. You are doing manually what ABS does automatically. It will not help with the braking but it will allow you to steer while braking.

Modern cars have a number of different systems to help with the braking.
Braking Assist.
In an emergency you will apply a lot more pressure on the foot pedal than normal. Some vehicles will have something called emergency braking assist (EBA). This senses when a driver is depressing the footbrake harder than normal and applies extra pressure till the ABS kicks in.

ABS.
The purpose of ABS is to allow you to steer as well as brake. Modern vehicles will be fitted with ABS in order to prevent your vehicle going into an uncontrolled skid. ABS works by applying and releasing the brakes many times faster than any driver may find possible. Use of ABS generates a pulsing sensation through the brake pedal. It is important that braking pressure is maintained. Pumping the brake should be avoided as you would be reducing the effectiveness of the ABS.
If your vehicle is fitted with ABS the manufacturer’s handbook should always be consulted. Its advantage is a shorter stopping distance on normal roads and directional control. Its limitation is on a loose road surface, when it will make your vehicle travel further.

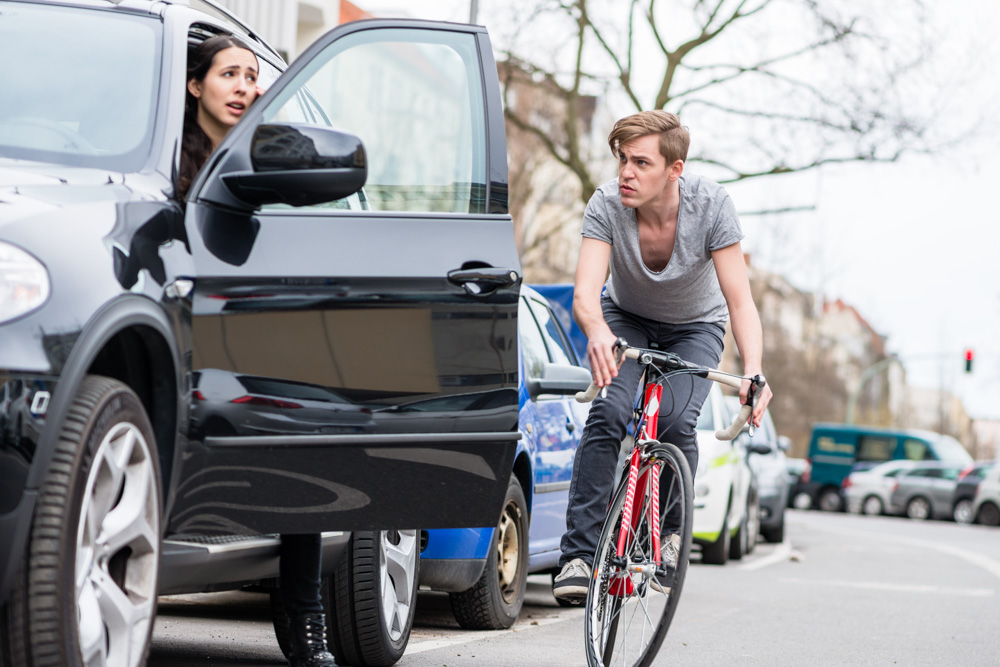
Emergency Braking.
Syllabus For Learning To Drive – Emergency Stop
At some point when driving you will have to emergency brake. Good observation and anticipation will greatly reduce the chances of this happening.
On a dry straight road keep your brake depressed, progressively braking harder till you have stopped. Quick reaction is essential.
Try not to lock the wheels up as this is a loss of control which results in skidding.
Keep both hands on the wheel as this will increase your control of the vehicle.
- You are braced if you hit something.
- But you are also able to swerve (rotational steering) to avoid something.
- It will stop you trying to use the handbrake which could lock up the rear wheels.
- With both hands on the wheel you will be properly braced if struck from the rear.
Leave the clutch up as long as you can before you push it down.
- This way there is a benefit of engine compression to help slow you down.
- The wheels are turning the engine because the clutch is up and your foot is off the gas
- Also your vehicle will be more stable if the drive train is still connecting the engine to the drive wheels.
Your objective is to stop as quickly and as safely as possible while maintaining full control. If your vehicle has EBA or ABS these will kick in to assist. ABS will also allow you to steer to avoid a collision.

Brake Tests.
Brake tests should be performed at the first opportunity. Every time you use a vehicle for the first time. This is to ascertain that your brakes are safe and how they perform. Your brakes are most likely to fail when they are most needed as they are under the greatest stress.
The Stationary Brake Test
With the engine off apply a firm pressure to the brake pedal.
- The pedal should feel firm when pressed.
- Hold the pressure and then start the engine.
- The pedal should sink down as the servo assist kicks in.
- This should be a relatively small movement.
- The longer a vehicle has been inactive the more the pedal will sink when the servo assist kicks in.
- It will then move down to a point where it will be firm.
- The pedal should move freely as you apply and release the pressure.
A stationary test should be part of your cockpit checks. Your hand brake may be checked while performing a stationary brake test.
- Pull the handbrake up till it feels firm.
- Your handbook should tell you how far up it should go
- It should not reach the end of its travel.
- If it was to do so it would mean it was reaching the limit of its effectiveness.
The Moving Brake Test.
A moving brake test is an absolute necessity when driving a vehicle you are not familiar with. This is done to show how the vehicle behaves while braking. What pressure to apply and if your vehicle pulls to the side when braking. Also if there are any other problems such as vibration or noise. It is your responsibility to perform the test and to do so safely.
To perform this test:
- When the road is clear behind you accelerate to 30 mph.
- Put your vehicle into neutral so engine compression is not a factor.
- Progressively brake while holding the wheel lightly.
- If the pedal does not behave normally or if your vehicle pulls to the side; seek immediate professional help.
- Release the pedal just before stopping at 5-10 mph to ensure that the brakes do release.
Problems with the brakes
If the pedal sinks when the pressure is applied as you are driving along. This indicates that the brake seals are failing. Sometimes known as spongy brakes. Your vehicle should not be driven if this occurs. Get professional help immediately.
Brake Fade. This is a reduction in brake performance as a result of sustained braking on a lengthy down hill stretch or excessive use in high speed driving. It can be made more likely by poor maintenance. There are 2 types of brake fade.
These are pedal fade and pad fade.
Pedal Fade.
This is when the brake fluid has overheated and started to boil. The pedal will feel spongy or soft. If your brake pedal starts to feel soft stop immediately and get professional help. To drive your vehicle in this condition is extremely dangerous.
Pad Fade.
This is when the pads have exceeded their normal operating temperatures. They then tend to glaze over reducing the braking effect. The brake will feel firm but there will be a much reduced braking effect.

Be aware that items can get stuck under the pedal. The cockpit area should be kept clear of loose items to prevent this.

Syllabus For Learning To Drive – Car Controls & Instruments
© Liam Greaney